Showing posts with label nail polish addiction. Show all posts

Monday, January 25, 2016

Cherimoya Vernis Clasique as a stamping polish


I posted this design about two weeks ago on my Instagram account. I wanted to achieve a delicate yet casual manicure. One of the reasons I achieved this design was the desperate need to find quality polishes that performed as stamping polishes. After reading horrible articles about indie stamping polishes that went from headaches to nail disease, I was a bit scare on buying or even trying affordable stamping polishes alternatives.


I grabbed my commercial brand polishes and started testing their stamping possibilities. It was no surprise that I got best results with Sinful Colors Snow me white and Black on black. But what about colors?

I grabbed a few colors from different brands and I fell in love with one result! Cherimoya Vernis Clasique was a hit! It stamped beautifully over black and white. I needed to have a design with it!


This is Cherimoya Vernis Color Clasique, Metallic Red, I'd say it will stamp beautifully over any color you'd like to try it. It has a very dense formula and covers in just one coat. It even dries alike most stamping polishes! I recommend this brand for stamping, it works, it has beauniful colors and costs just $1.99 . Get yours and have fun! Just combine it and go on with a great stamping polish option!


And this is how it started! On my next post I will share a diy. I shared a brief one on my IG, but I'll share a more complete one. Sadly I did not take pictures of all of the steps, but I'll try to make it simple even for begginers!

Sunday, January 24, 2016

Romantic in pink manicure


I love pink, but not on my nails! My skin tone looks too pale when I wear light or bright pink shades. So, I decided to share it as a diy instead. 
I started this design to participate in a challenge, but at the end decided not to share it as part of the challenge. It's a romantic design , great for the upcoming season.

What I used:

       1. Bettina Matte for stamping                                                   
       2. Milani Color Statement Hot Pink Rage
       3. Milani Color Statement Doll Face 
       4. OPI Centenial Celebration


        5. Base Coat
        6. Top Coat


        7. Stamper (for the smooshy technique)
        8. Mirror or palette (or even a piece of cling wrap)


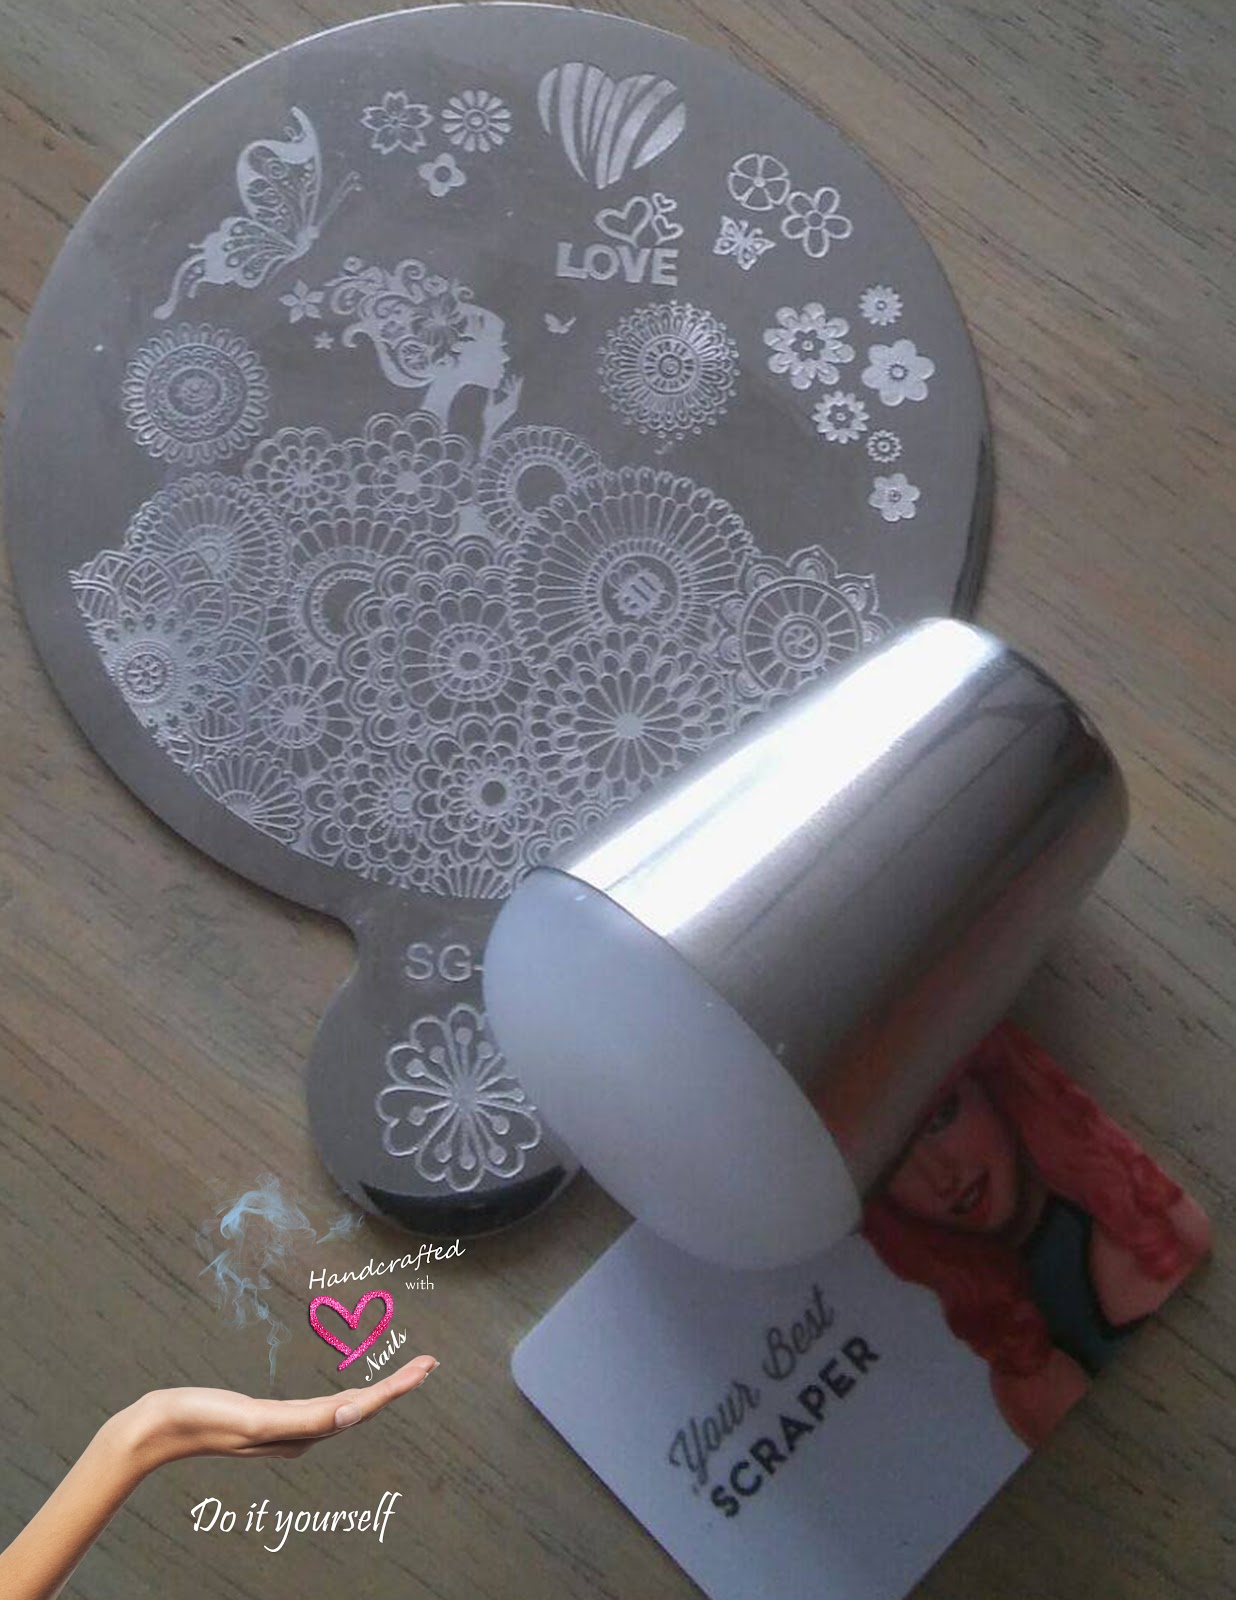
            9. Your favorite flowery stamping plate, I used SG-02
            10. Marshmallow squishy stamper and a scraper

For this manicure I used the smooshy technique. This easy and fun manicure takes only a few minutes no matter your skill level. In fact, I am sharing my learning process with you today! I've heard from some youtubers that there is no right or wrong way of doing the smooshy technique. Don't be afraid to experiment with it, just go with the flow and enjoy the process! 
Some people do this technique with a piece or cling paper or the back or a stamping plate. But I am an organization freak and I feel more comfortable using a mirror. It's less messy and its easier to clean. Having said that let's start with this fun process.


First I applied base coat to my nails, to avoid staining. I prepared my fingers applying liquid latex to protect  from polishes while doing the smoochy technique. Then poured a drop of each color on the mirror. I made a swirl with the colors using the smaller head of my stamper. Next I started applying the colors with the stamper filling in spaces and trying to achieve a marble pattern. When the smoochy nails were completely dry I applied the top coat to even the nail surface so I could stamp on it.


After the top coat dried I removed the liquid latex and reapplied liquid latex to my fingers again to protect from stamping residues. Using Plate SG-02 which I bought from an Ebay seller (if you'd like the info let me know ina comment below).  I wanted a rustic look, not the perfect crisp white stamping, so I decided to use Bettina Matte, it stamps but not as crisp and white as a stamping polish would do. I made sure I let the stamping dry enough time so it wouldn't smear as I applied the top coat. Hope you give it a try and remember to visit the blog regularly for fun diy's and good information and freebies. 


Monday, January 11, 2016

Polish Storage and Organization tips

When we let ourselves get  into the calling power of beautiful nail polishes we end up creating a much bigger situation. Storage! Not only our nail polishes become one of our most important treasures, but these tiny, colorful, beautiful bottles are very fragile too.
How painful and stressful it is when one of our polishes gets lost, or worst! BROKEN! We need to assign a specific clean, fresh and secure area for our polishes. here are some tips that helped me protect my babies!


This is my organization plan. It has worked for me (and my girls!).
1. Store them in a dark organizing tower or drawers away from windows and exterior walls. This will protect your nail polishes from direct sunlight,dust and temperature. Your polishes will last longer.
2. Separate your nail polishes by brand. That'll help you identify which polishes you have from each brand. Keeping them together will help you with space since every bottle has the same shape.
3. Keep track of the colors you already have. You don't want to duplicate colors in your collection. Most of us want our collection to grow but duplicating takes more space and you'll have less colors.You can do this with several app's or just make a list.
4. Clean your organizing area and your polishes regularly. Having a dusty polish bottle might lead to product contamination with dust particles.
5. Get rid of empty bottles ASAP. You'll need that space for future polishes. If its a color you like it a lot just write down the name and get a new one.

A growing nail polish collection

I have to admit I am a compulsive shopper (specially when there is a good sale, or beautiful colors, or a well reviewed brand, or I am sad, or bored, or curious...I think you get to the point). I stopped using and buying nail polish since the invention of colored acrylics polimer and the art of encapsulating glitters and everything you could think about on nails. Then 3D designs were the coolest thing in the nail world. So I used to go for long nails with lots of 3D designs, and crystals. Yes! I have lots and lots of colored acrylics, crystals, studs, flowers... you name it. Its not that difficult to get nail art when you have ebay and swaps on your side. Then something got my attention...GELS! Gel Polishes! Brushes! Yeah I got a lot of those too, even one stroke gels and 3D gels. My living room was overloaded with nail art supplies, just to do my own nails. I had to do something about that so I made my best to stop bringing new stuff to my house. I organized everything in carts and cases into my closet, and suddenly my living room was free!

I minimized everything nail related,from nail length to working area.I tried to use the less products I could, trying not to make a mess. Then something happened! I discovered nail stamping ! I did have 3 round stamping plates but never learned how to use them. And in order to stamp I needed nail polish and that is how it started.


How and when did I go from 20's nail polishes to 265??? I received some from friends and family but  it's still a huge collection that needs storage space. I could divide them by colors, by brand or shape and I will still have a lot of each.


Having a selection of nail polishes makes your work easier in many ways. But  it's a huge space and organizing problem. The worst part is that once you start your collection you'll want more...and more...and more! And even more!!!