Showing posts with label Nail Art. Show all posts

Monday, February 29, 2016

14 Days of Romance Nails My Designs

I decided to post them all together, so you can see the ones I did in one single post. Later on I'll be posting an individual description on each of them. Sadly by the last days of this challenge I got really sick. And my kids got sick. With one thing after the other I got behind in a lot of things, personal things, family things, school and of course the blog, challenge and social media.

But now I am back on track and I will try to get up to date as soon as possible. I'd like to thank the lady that started this challenge with me but had to finish it without me. Shar, Jen, and Maddie. Thank you girls!

Here are the designs I got to do.


Hearts and Chocolates


Roses


Lace and Bows


Cupid in Red


Friendship Brazalet


Pink Blossoms


Eternal Love


Unconventional Valentine's Color


Passion


Saturday, January 30, 2016

Nail art challenge ~ 14 days of romance


A talented group of ladies and I are hosting a nail art challenge for this upcoming love season. Starting February 1st, we will share our designs and we want you to join us and share your designs with us! You might share your designs through Instagram, You Tube or even Blogger! Tag @shar_nail_art , @maitte_dja, @pueen_queen and @lhn_designs on the captions of your Instagram pics and use #14daysofromancenails when posting your designs, you might also share your video tutorials on You Tube or Instagram. Just share the links with us!

Wednesday, January 27, 2016

Flower Series Stamping Plates Haul


Today I'll be sharing with you Flowers Series plates. These plates can be bought  online at Aliexpress and Ebay. I ordered these plates after I saw a few reviews that described some of them as dupes (duplicates) for pueen and other well known brands. The plates are ok. But I have to say I had a bad experience with the seller from Ebay. Although the shipping was very fast the plates did not have the quality they claimed them to have. Three of them were good, and did not bend. But one of them was as weak as a really old Mackintosh floppy disk. Those who where in a computer class in the late 80's or early 90's will know what I'm talking about.If I do not take care when using it the plate will bend easily. I messaged the seller telling him that one of the plates was too weak and bendable, and not as firm as they claimed them to be. I asked him for advise in how to manage this particular plate, giving him the chance to be the one to tell what to do to solve this issue, other than asking what did I mean with weak and bendable I did not receive any more answers to the issue with the stamping plate. 


 All of the flower series plates are beautiful. I ordered Flowers-01, Flowers-02, Flowers-03 and Flowers-04 . They are well etched. The only problem I had with them is the issue with one of the plates firmness. I'll be sharing a full review on these  plates with specific details about each stamping plate. 


Monday, January 25, 2016

Cherimoya Vernis Clasique as a stamping polish


I posted this design about two weeks ago on my Instagram account. I wanted to achieve a delicate yet casual manicure. One of the reasons I achieved this design was the desperate need to find quality polishes that performed as stamping polishes. After reading horrible articles about indie stamping polishes that went from headaches to nail disease, I was a bit scare on buying or even trying affordable stamping polishes alternatives.


I grabbed my commercial brand polishes and started testing their stamping possibilities. It was no surprise that I got best results with Sinful Colors Snow me white and Black on black. But what about colors?

I grabbed a few colors from different brands and I fell in love with one result! Cherimoya Vernis Clasique was a hit! It stamped beautifully over black and white. I needed to have a design with it!


This is Cherimoya Vernis Color Clasique, Metallic Red, I'd say it will stamp beautifully over any color you'd like to try it. It has a very dense formula and covers in just one coat. It even dries alike most stamping polishes! I recommend this brand for stamping, it works, it has beauniful colors and costs just $1.99 . Get yours and have fun! Just combine it and go on with a great stamping polish option!


And this is how it started! On my next post I will share a diy. I shared a brief one on my IG, but I'll share a more complete one. Sadly I did not take pictures of all of the steps, but I'll try to make it simple even for begginers!

Sunday, January 24, 2016

A past in acrylic nails

Today's trends require more natural looking nails. The thinner and shortest the better. Less is more! But two or three years ago stiletto, mandorla russa long nails were the trend among nail technicians.I loved long, delicate and uncommon nails on my own hands. But most of the girls I did nails to stuck to square nails.


I saw nail's evolution from traditional sheer pink and white, to cover pink and reverse nails, from freehand and one stroke painting to glitter encapsulating and color acrylics. I saw the 3D acrylic designs born and develop. And I loved them all. I've worked with acrylics, gels, nail polish, gel polish, watercolors, anything that can make a nail look good was in my list of things to learn.


Today my nails look natural (although they have a gel overlay), I went from freehand to stamping and I still love them all! My journey trough acrylic trends made me look for more,develop more, practice more.


These are samples of my work, every design has a value to me . I cherish each picture as the steps that took me to where I am now. This is me, this is my essence and I do not think that is ever going to change.

Romantic in pink manicure


I love pink, but not on my nails! My skin tone looks too pale when I wear light or bright pink shades. So, I decided to share it as a diy instead. 
I started this design to participate in a challenge, but at the end decided not to share it as part of the challenge. It's a romantic design , great for the upcoming season.

What I used:

       1. Bettina Matte for stamping                                                   
       2. Milani Color Statement Hot Pink Rage
       3. Milani Color Statement Doll Face 
       4. OPI Centenial Celebration


        5. Base Coat
        6. Top Coat


        7. Stamper (for the smooshy technique)
        8. Mirror or palette (or even a piece of cling wrap)


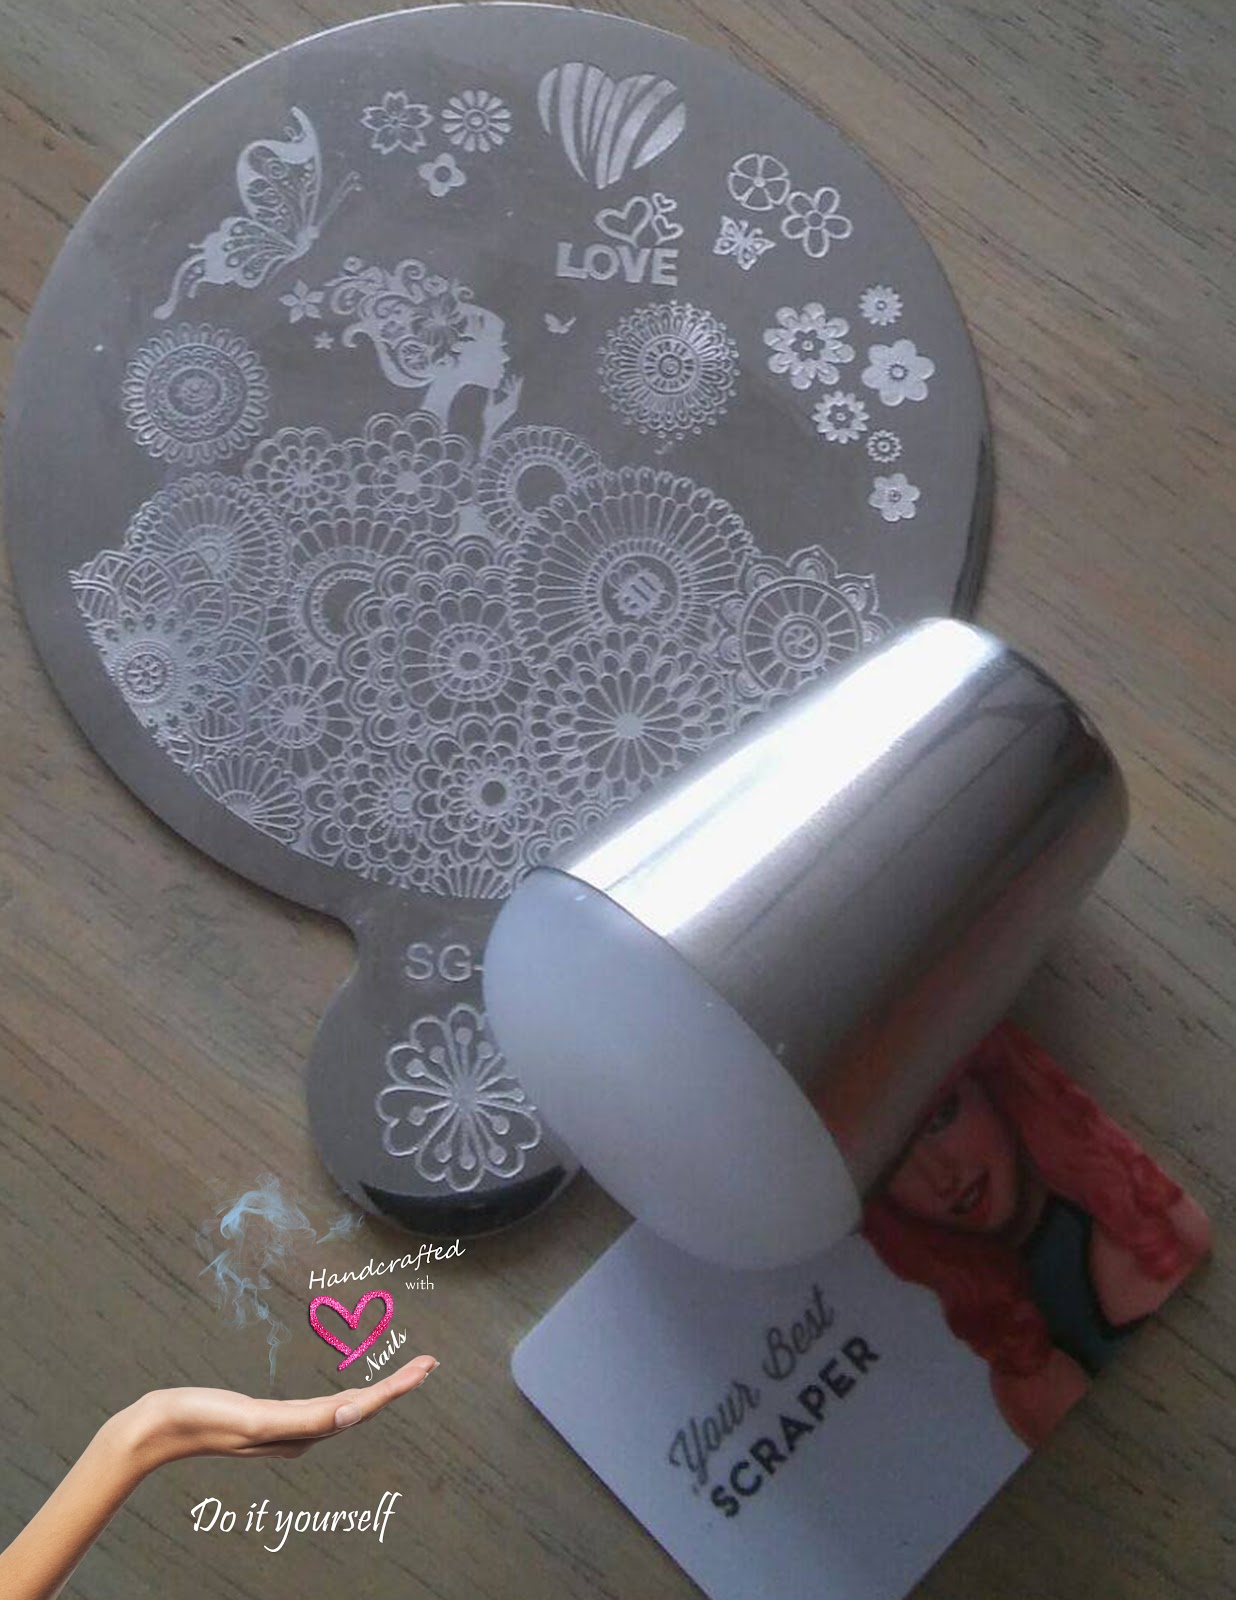
            9. Your favorite flowery stamping plate, I used SG-02
            10. Marshmallow squishy stamper and a scraper

For this manicure I used the smooshy technique. This easy and fun manicure takes only a few minutes no matter your skill level. In fact, I am sharing my learning process with you today! I've heard from some youtubers that there is no right or wrong way of doing the smooshy technique. Don't be afraid to experiment with it, just go with the flow and enjoy the process! 
Some people do this technique with a piece or cling paper or the back or a stamping plate. But I am an organization freak and I feel more comfortable using a mirror. It's less messy and its easier to clean. Having said that let's start with this fun process.


First I applied base coat to my nails, to avoid staining. I prepared my fingers applying liquid latex to protect  from polishes while doing the smoochy technique. Then poured a drop of each color on the mirror. I made a swirl with the colors using the smaller head of my stamper. Next I started applying the colors with the stamper filling in spaces and trying to achieve a marble pattern. When the smoochy nails were completely dry I applied the top coat to even the nail surface so I could stamp on it.


After the top coat dried I removed the liquid latex and reapplied liquid latex to my fingers again to protect from stamping residues. Using Plate SG-02 which I bought from an Ebay seller (if you'd like the info let me know ina comment below).  I wanted a rustic look, not the perfect crisp white stamping, so I decided to use Bettina Matte, it stamps but not as crisp and white as a stamping polish would do. I made sure I let the stamping dry enough time so it wouldn't smear as I applied the top coat. Hope you give it a try and remember to visit the blog regularly for fun diy's and good information and freebies. 


Thursday, January 21, 2016

MoYou London Princess Collection Stamping Plate 11 Review

                                       MoYou London Princess Collection Plate 11

This stamping plate was part of the Moyou London haul I reviewed yesterday. Honestly I purchased this plate just because it had a hand writing image. Images on this plate are kind of sweet and childish, just like drawings elementary and middle school kids tend to do on the back page of their notebooks. Having said that, if you're going for a fresh kiddie design this is the plate for it!


When I got to swatch this plate, it was difficult for me to transfer the complete image.  This is not a bad thing against the plate because picking up the image wasn't the problem. Timing was the problem. The plate is so detailed and has a delicate etching in almost every image, so you need speed and a good coordination so your image doesn't completely dry on the stamper.


I had a hard time trying to swatch the last two images of the plate. The design has long and thin lines that you will need to fill correctly and at the right speed so it doesn't break before picking it up. After a few fails, I discovered that the best way is to scrape it upside down and transfer it quickly.

The images have a nice size, but again, good for small slim nails, a bit longer but small nails.

Overall the plate has beautiful and sweet images to freshen up your manicures. Great to stamp girly nails!

Monday, January 18, 2016

The Printable Mat

We all love to have a template to practice our nail art. Since the beginning of nail art there has been templates ( "practice sheets") available for us to paint or draw on. even to improve acrylic application speed there are practice sheets available.
Most companies are making a variety of stamping mats for us to practice and test colors. Even to do our decals on making our hobby even easier and pleasant. But not everyone has access to online ordering,or even worst, some countries make your orders online a nightmare. In the best case scenario you'll have to waste a whole day and pay additional fees in order to have access to your products.
My daughter and I took the time to develop this for you! "The Printable Mat"is the result of team work and a lot of working time  . Now you won't need any sophisticated graphics software or online programs to print your very own stamping mat. Just download it, print it and use it in the most convenient way for you!


Test colors, try color combinations, make your own decals. Test stamping polishes in black or white! "The Printable Mat" provides you spaces for all your stamping needs. 


"The Printable Mat" is free. Just read Terms and Conditions!

Terms and conditions
1. Must be a Follower of all my social media.
     a. Join this blog. Hand Crafted With Love Nails (Join This Site)
     b. Follow @lhn_designs on Instagram (Badge Button on sidebar)
     c. Subscribe to Handcrafted With Love on You Tube ( Make sure we can see your subscription, if         they're private wecan not see)
     d. Follow @Licy76 on twitter (Link Button  on sidebar)
     e. Follow Handcrafted with love on Google+ (Badge on sidebar)
Note: If you are on a cellular or tablet you need to access the link to the full website on the bottom of the blog to be able to view the buttons.
Then send message via contact form with your username on each social media (this to verify you are a follower) and an email to sent you the mat's pdf
2. "The Printable Mat" is for personal non-commercial use only , any unauthorized commercial or online use of the mat violates our intellectual property and copyrights. We will proceed with legal processing.
3. Do not alter or edit "The Printable Mat" or any of its drawings, logos and/or copyright typing.
4. "The Printable Mat" is not transferable, it's solely for your personal use, no group printing! If you'd like to share our mat with a friend ,you should share a link to its original post. (this post).
5. Accept the terms and conditions in a comment below this post.
6. Do not unsubscribe or unfollow after you receive your printable mat, it's not honest and you might loose the chance to download more printable goodies from our blog and the giveaways!

Instructions of use

1. Print "The Printable Mat" on a letter size paper or card (8.5 in x 11 in). Use landscape orientation.
2. You might place on or under one of the following
    a. Sheet protector
    b. A plain silicone baking mat
    c. A clear flexible chopping board
3. You might also laminate it.
4. Enjoy your alternative stamping mat and start creating!


Sunday, September 6, 2015

Mickey wears jeans- Tutorial

This design was inspired by JauntyJuli. I adapted it to my stamping plates and came out with this design.


I've been designing nails for 15 years or more. For the last six to eight years I used almost everything you can imagine for nail art but nail polish. This is like going back to basics but having something on my side. Nail Stamping! Almost ready to use designs that demand less working time and you get beautiful and perfect designs each time without the worries of  nails not being uniform. 

What you will need:

For this tutorial I used Jr.5 stamping plate from My Online Shop


Base Coat
Top Coat (I used Glass Kote- Charlotte)
White ( I used Snow Me White -Sinful Colors)
Blue -Three Shades ( I used Colorina  10,37 and 97)
Pink - This color should be stamping quality( Iused Wet n' Wild Megalast 209C- Candy-licious)
Your favorite stamper and scraper
Fan brush
Detail Brush (20/0)
Porous sponge and tweezers (optional)
Acetone
Metal Studs
A small mirror or color palette
Washi Tape

Step by step

1. Apply  base coat
2. Now add a coat of white, it should be a white that covers mostly on one coat, as we will do a few layers more and the final result should not be too thick.
3. Add a layer of top coat. I use Charlotte's Glass Kote (local brand). I really like this top coat because it dries with a glassy finish. It looks a lot like uv gel top coats and the best thing is it evens the polish giving you a perfect surface to stamp on. Plus if you mess up you can carefully remove your stamp with non acetone polish remover, re-stamp and add a top glass kote layer and it wont affect the quality and beauty of your design.

4. Stamping time! with the pink  polish I will stamp from Jr.5 stamping plate.


5. Apply top coat and let dry completely. Make sure is completely dry because the success of the next step.
6. With a piece of washi tape cover 3/4 of the nail making sure its perfectly adhered in the nail to avoid polish drips.

7. Apply a coat of the middle tone blue (Colorina 10 Neon Blue) on the unprotected 1/4 of the nail. Remove washi tape before it dries. Let dry completely.


8. Using a fan brush do some dry strokes with light blue horizontally and vertically. Repeat with the darker blue and white, cleaning the brush between colors. Keep doing this until you feel satisfied with the results.
9. This step is optional but it gives the design a realistic jean appearance. With a small piece or a porous sponge, create one or two white spotting areas on the jean design.


10. With the detail brush (20/0) do some random fine lines with light blue to accentuate the denim detail.
11. Apply top coat.

12 Add a vertical line of metal studs before the top coat dries. Let dry completely and add another layer of top coat to secure the studs in place.


As variations you might divide the nail diagonally, you might do a full jean nail or you might just do a white nail with pink stamping as I did on this set. You might paint pockets and everything you feel makes it look denim like. Do random styles on your nails, just be creative and have fun. Let me know if you try this design. Feel free to link your instagram pictures or facebook pictures on the comments below.